Strategy Two: Frames
When we hang a piece of art on our wall, it has a frame, a border which implies intent. Something framed feels different than a poster we just tack onto our wall with push pins like our old dorm room. Your landscape works in much the same way.
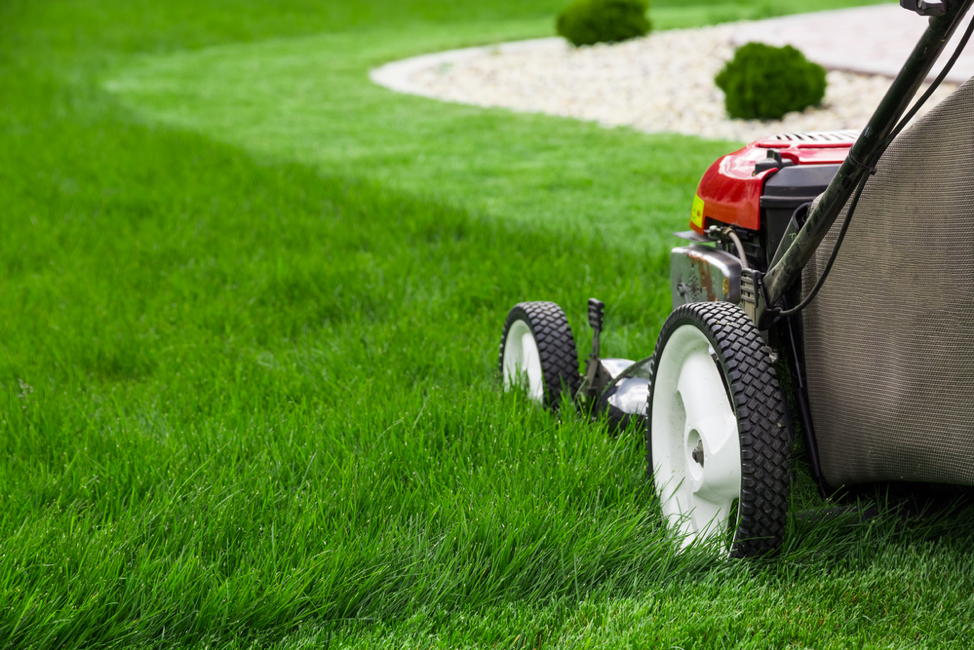
A frame can take many forms, from a low fence or stacked wall of wood or stone, to my favorite and the simplest of options — a mown border. Maintaining a mown frame around your landscape of about 3’ will help people know you haven’t just “given up.” Regardless of what’s happening beyond the frame — sheet mulch, black plastic, or dead turf (more on that below) — that frame, in tandem with your interpretation, will tell people that you’re still home, you still care and you’re acting with intention. This is especially helpful for areas along sidewalks, because when vegetation overtakes an edge, it can quickly feel neglected, an impression we want to avoid.
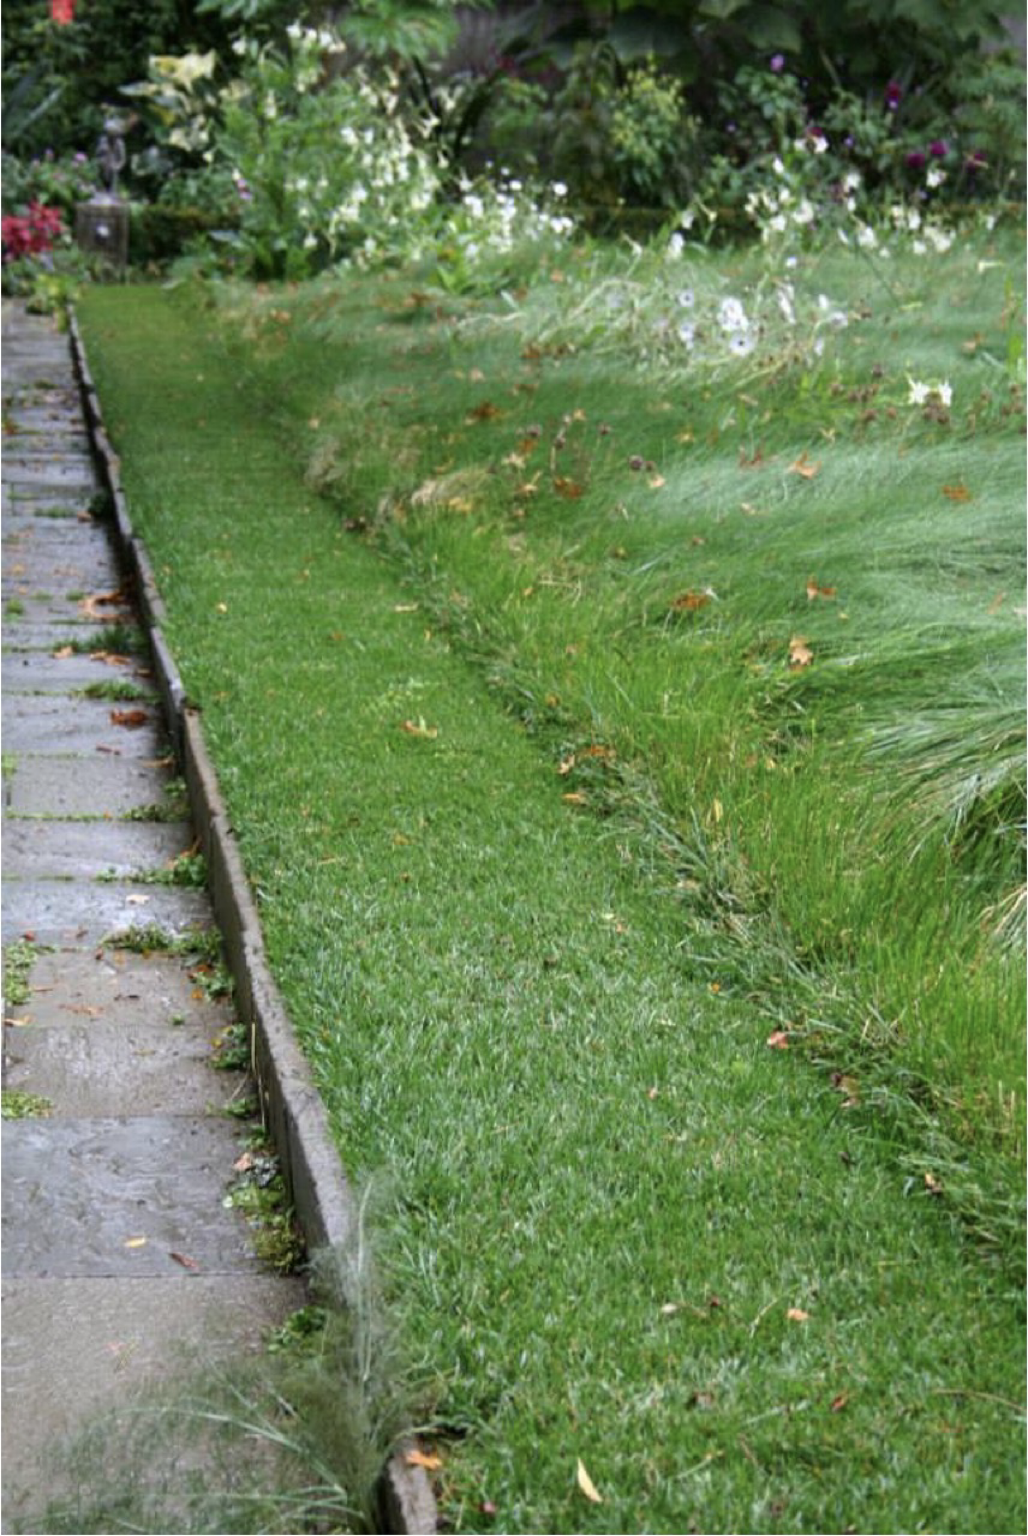
Image courtesy of Ben Futa
These strategies should be applied at the beginning of any lawn conversion, no matter how you choose to go about replacing your turf. Now, it’s time to dig in, and today, we’re exploring four options, each with varying levels of input, duration of time and environmental impact. Ultimately, the choice is yours. The good news: you have options.
Option One: Sheet Mulch
Save your boxes! Cardboard is an essential ingredient in this process, and you’ll need a lot of it. Begin by removing as much plastic and labels from your boxes as possible. If you can’t get it all, don’t worry, they’ll turn up later when you’re planting and can be removed at that time.
Lay out your boxes over the area of turf you want to replace, and be sure the edges overlap at least 4” to make sure nothing can grow through. In this method, our goal is to deprive turf of light, so this overlap is critical. Once the boxes are down, you’ll need a lot of mulch. Bark or wood chips work best.

Image courtesy of spottsgardens
Add mulch on top of your boxes about 4-5” thick. This helps keep your cardboard from blowing away while also beginning to generate organic matter for your future garden. The cardboard will gradually melt away as it gets wet and decomposes, and the area should be ready to start planting within 3-4 months. When you’re ready to plant, pull back a small area of mulch until you reach your soil, and plant through any remaining cardboard at this depth. Replace the mulch after planting, being careful not to bury your new plant. You shouldn’t need to add additional mulch for a couple years, if ever.
Before planting, be sure your turf is really and truly dead and rotting away. It should be brown and may be slimy. If you see white/bleached leaves or lots of healthy, white roots when you dig a test hole, replace the mulch and cardboard and wait a bit longer. If you plant too soon and turf is able to rebound, you’ll be fighting it back forever. It’s no fun, and it’s not a cute look.
Option Two: Solarize
This method requires investing in a big roll of impermeable black plastic. The “weed barrier” fabric you’ve likely seen in big box stores will not do the trick, nor will clear plastic sheeting that lets light through. Black, opaque, UV-resistant, impermeable plastic is the best choice. In this method, we’re depriving the turf of both light and (most) moisture.
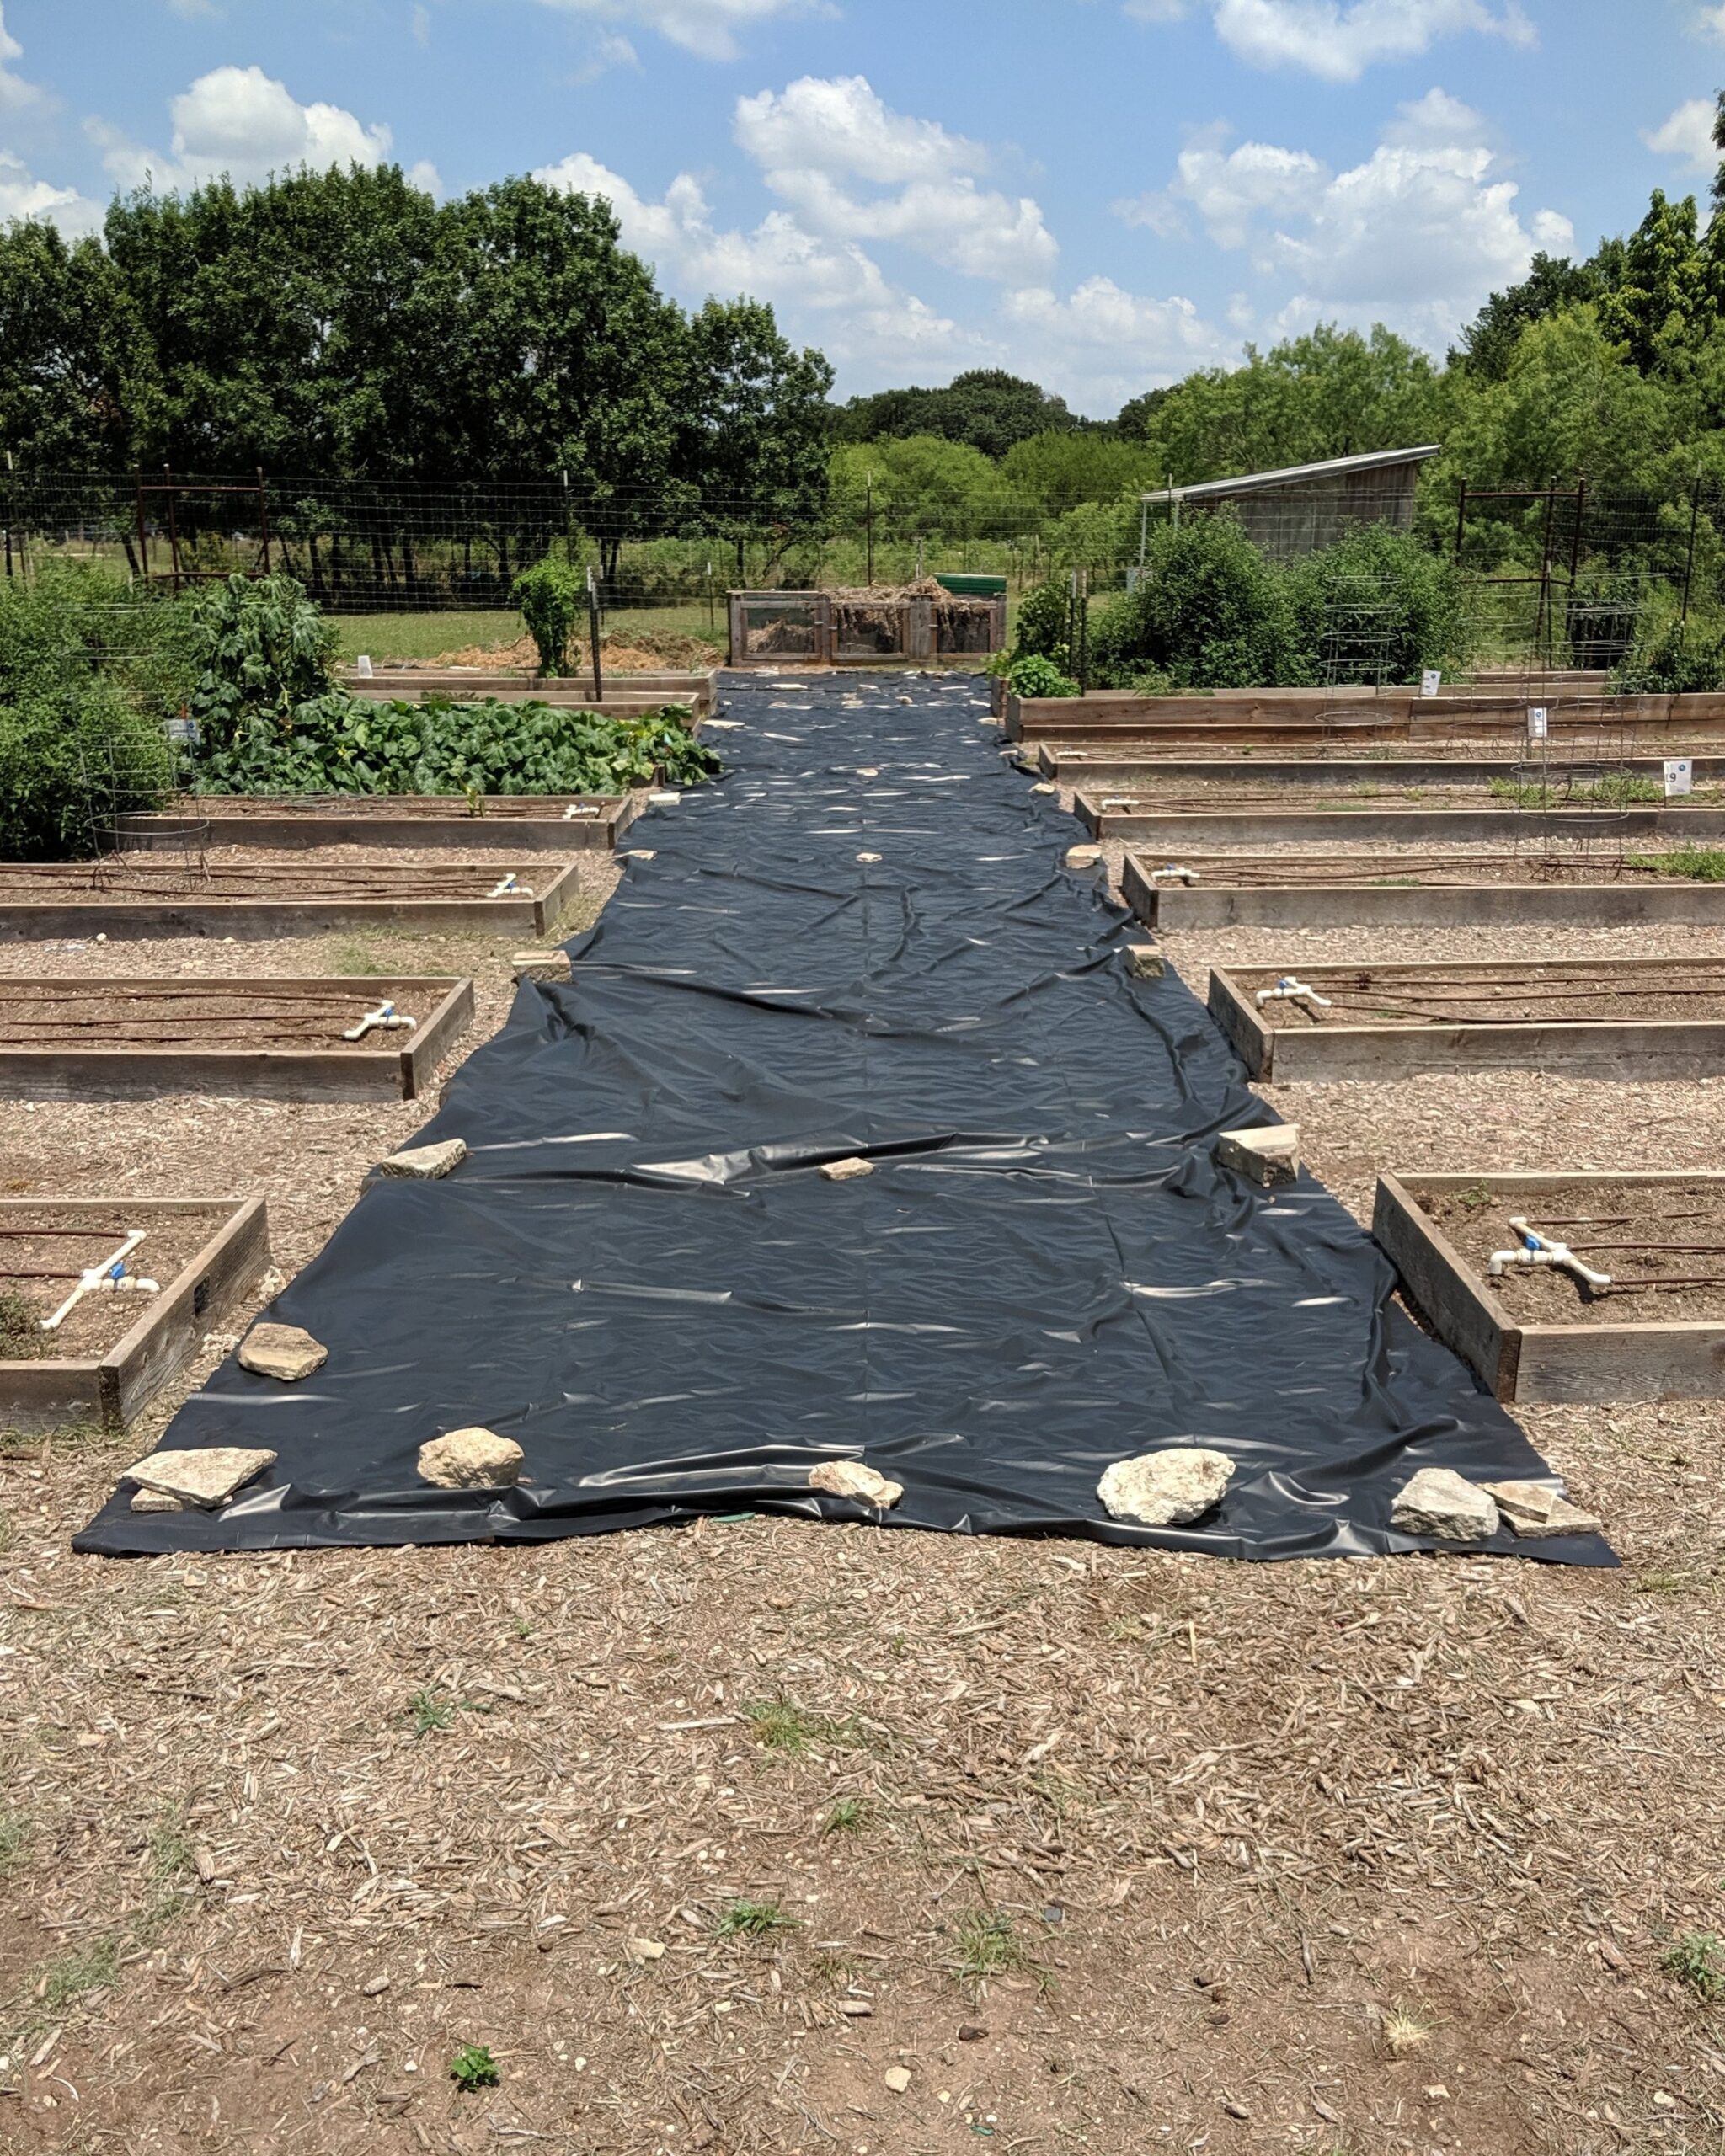
Image courtesy of Phil Hardberger Park Conservancy
First, mow down the area you plan to solarize to about 1.5-2” tall, and rake away any excess material. Remove any sharp objects like tree stumps, old plant stems, and substantial rocks. This will help when it comes time to roll the plastic out over the area. Use something like old stones, bricks, or sod staples to secure it in place as you go, otherwise the wind will catch it and take it halfway across the county before you can blink. Be sure to overlap the edges at least 4” to make sure nothing can grow up from below the plastic.
Plan to leave the plastic in place for an entire growing season. On hot summer days, the plastic will pick up heat from the sun and cook your turf and soil. This has a double benefit in that it also removes some potential weed pressure by killing off weed seeds in the top layer of soil, a helpful benefit when it comes time to plant.
If you put down your plastic this spring, you should be clear to remove it and plant in early-mid September. You’ll still want to add a 3” layer of mulch before planting (to keep weeds at bay), and then you’re clear to start adding plants anytime! The one drawback of this method is the plastic is hard to reuse a second time — not impossible, just labor intensive. I know it may seem counterintuitive to cover your lawn with plastic when we’re trying to go green, but it will do the job! Check with friends or neighbors to see if anyone wants to kill off some lawn after you’re done with it 😉 Reuse and recycle!
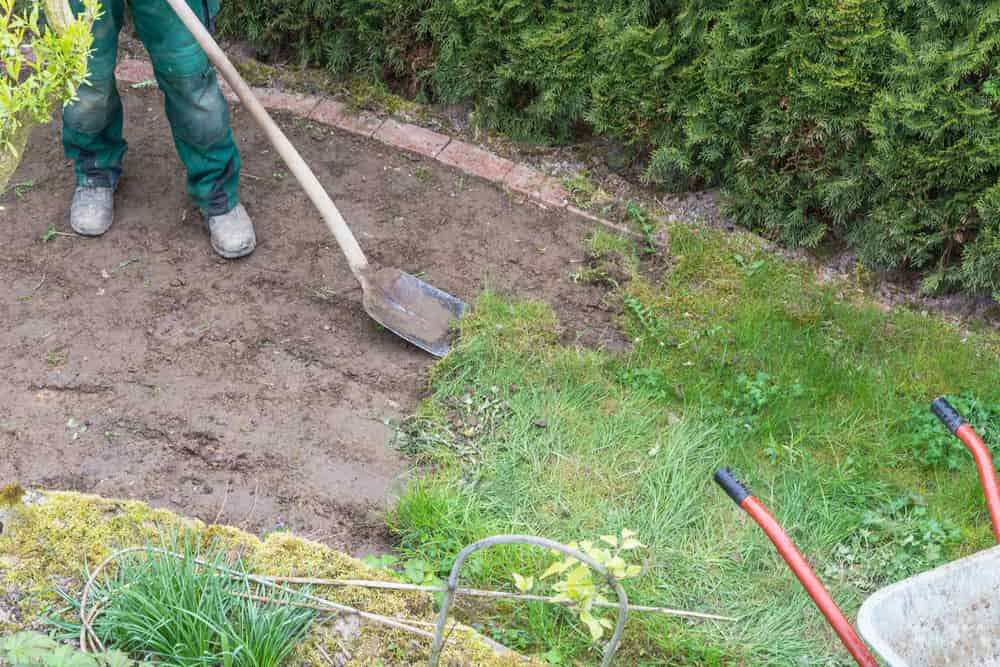
Option Three: Dig it Up
This is by far the most labor-intensive route. Bonus: it burns tons of calories! Turf is notoriously shallow-rooted, making it possible to remove manually. You have options in terms of how you dig, depending on the size of the area you’re planning to plant. If you’re creating a relatively small garden bed, I’d recommend your trusty shovel, digging the turf out in small chunks. Be sure to shake off as much soil as you can in the process. You can hypothetically add the old turf to your compost pile, just know it can take at least a year to break down fully. I’ve found it helpful to place it grass-side-down on my compost pile, effectively depriving the grass of light which will help it rot a bit faster.
If you’re planting a larger area, you can also rent a sod cutting machine, which will make it possible to roll up your old turf like a carpet. It’s still labor intensive, plus the expense of renting the machine, and you’ll likely have to think about disposal as this volume of material probably can’t fit on your compost pile.
One important note if you go this route is to remember that in churning the soil as you will through digging, you’re releasing weed seeds that have been dormant, waiting for their chance to grow and we call this a seed bank. These seeds are triggered to grow by light, and you’ll no longer have turf to shade the soil. If you’re digging, plan to apply a 3” layer of mulch within three days after planting — the sooner the better, really — to prevent weed seeds from popping up and creating a management nightmare.
Option Four: Herbicide
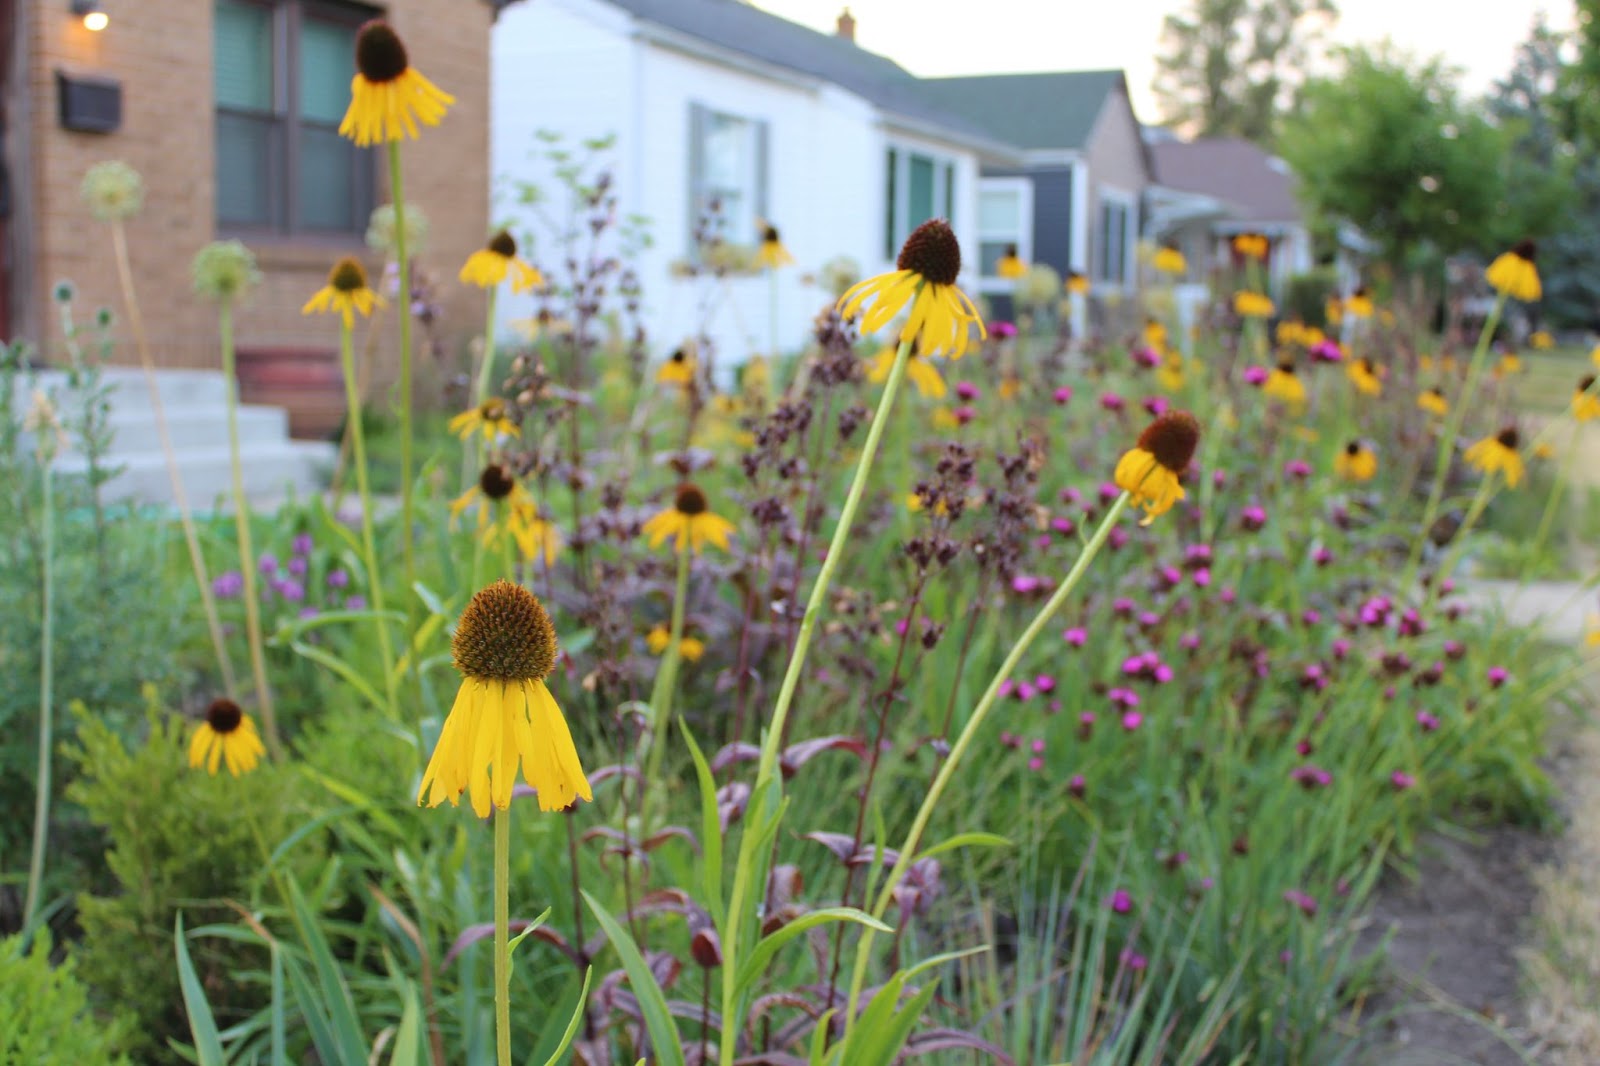
Using a chemical herbicide is the quickest way to remove turf for other plantings. It can be applied in a few minutes and can get a site “plant ready” within 3-4 weeks once the turf is fully dead. This will also save your back, knees and hands because you don’t have to physically remove any turf. We simply allow it to decompose in place and then add our plants right into the old turf. This is especially helpful on sloped sites where exposed soil or loose mulch might erode in a heavy rain storm, as the old turf will help keep that soil in place while our desirable new plantings get established.

Photo courtesy of Flickr user Dano
I know it may feel highly counterintuitive to use a chemical herbicide when we’re trying to move away from conventional lawns which are so harmful to our environment, and here’s how I see it: using herbicide to kill your lawn is the last time you’re ever going to need a chemical, and it will save you a lot of time and labor in the process. It’s all up from here, and everything you do going forward will be making your own outdoors a more sustainable, resilient and ecological paradise. It’s also worth noting that in any circumstance when chemicals are involved, safety is paramount. Follow all safety guidelines and best practices, including not spraying on a windy day, wearing proper protective gear and clothing, and keeping your spray nozzle within 12” of the ground to help prevent drifting. You can always contact a local professional who can help.
Any day is a good day to replace your lawn with something better. If you have a large lawn, don’t panic. What matters is forward motion. Don’t feel like you have to replace your entire lawn in a single season: tackle it in stages and phases as you’re able. My own lawn conversion took a full growing season and happened in four stages, and I’m also growing in a tiny urban lot so I didn’t have much space to convert to begin with. Even so, I still did it in phases because I opted to dig most of it and couldn’t afford enough plants to fill it all at once. Forward motion is what matters. Period.
The bottom line is simple: our landscapes represent one of the easiest ways we can contribute to a more sustainable, connected world and vibrant community. Think of your community like a quilt – the more pieces we repair and stitch together, the stronger, more beautiful, and more diverse our communities become as a result.
We’ll be back later this season to follow our lawn conversion project in progress, so you’ll be able to see how we finish preparing a site, layout and plant our plants, and watch as it grows and changes throughout its first growing season.
This photo and cover photo courtesy of Ben Futa
 Passport


grass cut services
This guide is such a refreshing take on lawn alternatives—perfect for beginners who want a more eco-friendly yard! I appreciated the practical tips and the encouragement to start small. Even for those still using traditional lawns, it’s helpful to know that local grass cut services can assist in managing transitions or maintaining areas while other parts evolve. Thanks for making sustainable landscaping feel doable and inspiring!
Teresa Phillips
Very interesting concept Ben. I think I may experiment with a small area and see what happens. Thanks for opening the door.