“Easy Ridin’ With Hip and Leg Exercises” Transcript
Hi, I’m Cassy. Welcome back to Quick Fit.
If living better longer for you means continuing to ride a bike or a motorcycle, then you need good hip mobility to swing your leg up and over the seat. The techniques in today’s class are specifically for this type of movement. And even if riding a bike or motorcycle isn’t your thing, hip mobility is still an essential part of an active and pain-free life, so let’s get moving.
[gentle music]
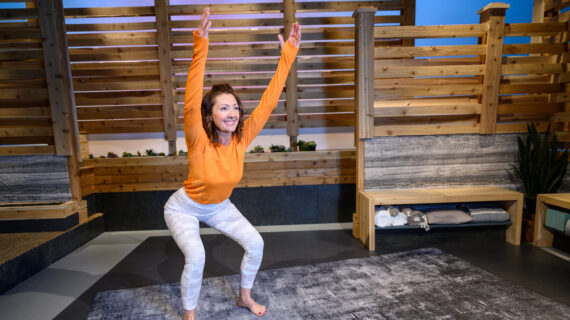
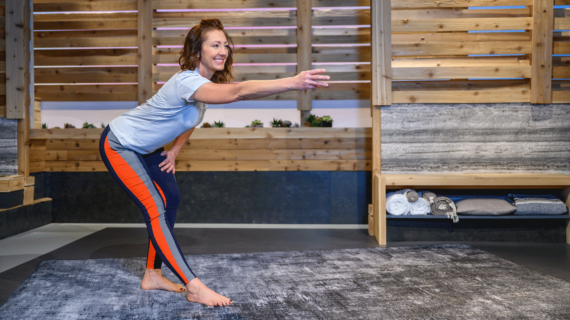
In today’s class, we’ll start standing, and then we’ll move later on into the chair, so make sure you do have a chair with no arms and preferably no wheels. Hands on your hips, and let’s just start doing some nice circles. Make sure you’re moving your hips around in a circle as opposed to the shoulders. I see that a lot. So, take your time and just sink into one hip, around the front, and the other hip, and around the back.
And I think this would be a good opportunity for you to take your shoes off and let them be free of your shoes and used to just being able to have the freedom of movement without being so tight.
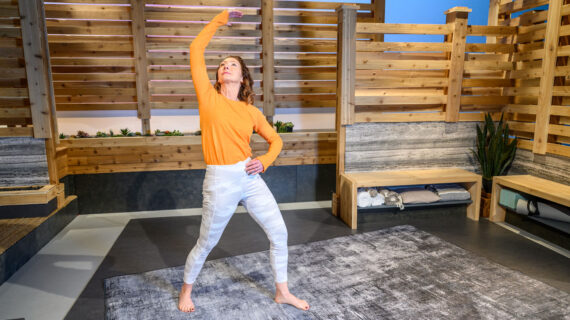
All right, we’ll start with some tucking and arching. So as you tuck your tailbone under, think about squeezing your bottom, and then we’ll move the elbows to the front. Go ahead and let your head just drop. Inhale, exhale, and we’ll come up into the opposite. So pull that tailbone back and stick your chest out. Elbows back. Let’s do this one more time in both directions. This is very similar to the cat and cow that you would do in yoga, typically on your hands and knees, but we can do it here too.
Your spine is meant to move in every direction. And if your pelvis is tight, it’s really going to be reflected in the rest of your movements. So now, let’s lift your knee up, your right knee, and let’s just cross and open, taking care that your hips don’t turn with your leg like this. That would kind of defeat the purpose. So let’s open and just get that thigh moving in that socket. Okay, open.
And now, let’s think about lifting this hip up and sinking it down. So we’ll drop this hip, sink into this one. One more time, lift and extend through the leg, sinking into your standing hip. One more time, lift and lower.
Very good, now bend that leg, and we’ll lift it up high and to the side. Let’s do a few of these, making sure that you’re not turning your shoulders towards the floor like that, okay. Let’s be nice and flat in the front. Lift and lower. One more time, stomach pulled in.
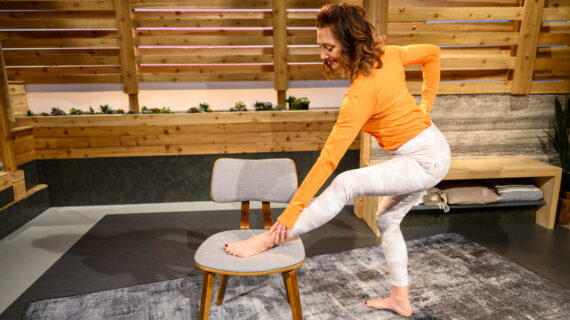
Got the chair here just to help you do this better. Let’s reach forward. And imagine there’s something just beyond your toes, and you’re trying to get it. All right, so your hips are gonna stretch. Your knee’s gonna stretch. Your ankle’s going to stretch. [breathes deeply] And don’t forget to breathe. Don’t hold your breath.
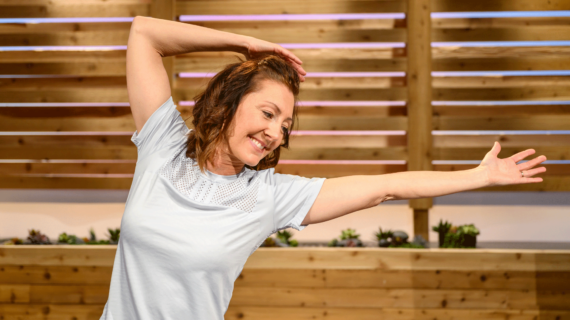
And now, let’s go out to the side. Inhale, [inhales] exhale, and really reach. [exhales] You can feel the hip opening as you do this. And then, scoot that leg around to the back. Big inhale, exhale, and reach. Now, don’t lean over to do this. Let’s take a little inventory, stand up, and then continue to reach back with that leg. Well done.
Let’s scoot to the other side. Just move your chair. And once again, you’ll be mirroring me, so this will be your left leg. So lift your knee, and then cross and open. Stand nice and tall as you do this. Remember, your head and shoulders need to be aligned with the rest of your body, so let’s start getting a little bit of body awareness. Good, open, across and open.
All right, and then we’ll take this hip and lift and lower. Once again, we’re not thinking about the knee right now. We’re just working on this hip. So lift and exhale, [exhales] lower, sinking into this leg. And lift.
And now, let’s stretch this leg to the front, and I think while you do this, you might find you get more movement through here. One more time, [inhales] and down. [exhales] Bring this leg up and out to the side. Keep your shoulders squared, one above the other. Lift and lower.
Don’t worry if you’re not getting as much movement as I am. Start where you’re at, and you’ll improve as long as you’re consistent. These aren’t too hard. It’s just a matter of doing them and getting– improving. If you haven’t been exercising or stretching for years, it just takes a while to turn that train around, so be patient with yourself, and you will see improvements. I see improvements every day at my fitness center. I see the tightest men and women in pain. Inhale, [inhales] exhale, extend. And, literally, after one class, they will come and tell me that they feel so much better. And then, of course, after many classes and months, they’re still feeling better. So I have lots of hope for you here.
And I hope that that’s what you find from these classes, is that you have control over aging, and you don’t have to age badly.
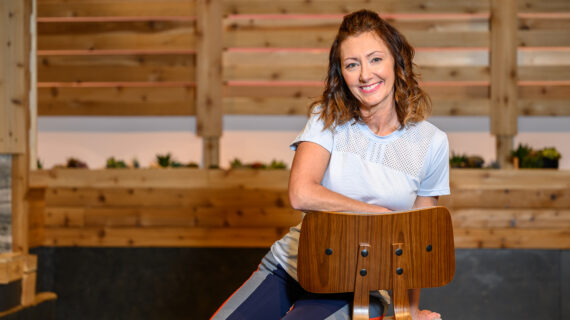
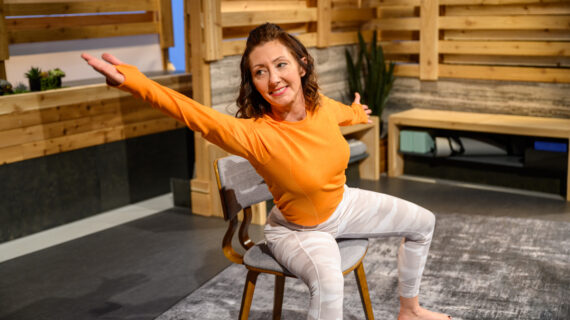
All right, very nice. Let’s go down to the seat, to the chair now, and be seated. And you will face your right. Sit half-on, half-off the chair, and then just hook your arm around the chair back. Have your one leg off the side, and just let this knee hang straight down.
We’re gonna be pivoting on our toes. And once again, do your best to not look at me with your whole body because then your hip opens up, and then you’re not working these really weak muscles here. So, your glute medius and your IT bands. Let’s just work them. Your body’s going to want to cheat and use other muscles, so let’s not let it.
All right, for this next move, I’d like you to turn and put two hands on the chair back. That way, it’ll prevent this thing happening, which is your quads wanting to do the work. Imagine there’s a wall right here and you cannot bring your leg forward. I’d like you to lift the leg straight out to the side. And make sure the ankle and the knee lifts together. So this is lifting together. This is not. This is the quad cheating.
All right, so two hands on the chair back, and lift this leg out to the side. It’s sometimes really effective for people to push on these muscles out here that are supposed to be doing the work to help reconnect the brain with those lazy muscles. One more, and let’s scoot around to the other side. Oh, before we do that, let’s just bring this knee up. Lift, and we’ll press that knee down.
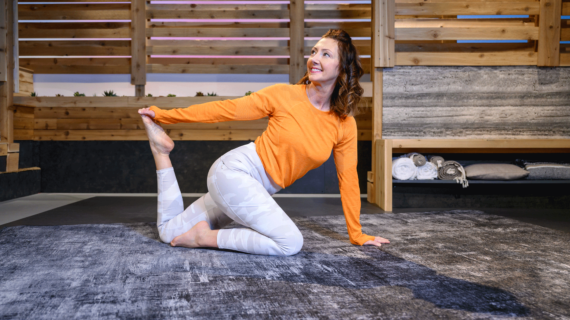
Need to do a little stretch after tightening those muscles. All right, so press it down without using your hand. Inhale, [inhales] exhale, [exhales] and press. Now, of course, the modification is to have your ankle below your knee. You can always hang onto your pant leg if you need to. There’s always a way.
Right, turning now to your left, hook an arm. Drop that leg down and pivot on the toes. For some, this might be the exercise that you have to stick to for many months until you’ve developed stronger glutes and hip muscles through here, and that’s all right. You will get stronger. All right. And when you find weakness, think of that as a good thing. All right, turn, and let’s put two hands on your chair back.
And once again, we’re lifting the whole leg out to the side, not pulling the knee forward. And I say it’s a good thing because when you find weakness, that’s when you’re finding sources of nagging pain because you found imbalances. When our muscles are imbalanced, that’s when we get pain. And these classes are about healing naturally by balancing your muscles, stretching, and strengthening. So, lift this leg, and then, we’ll just press it down with the muscles in your leg. A big inhale, [inhales] exhale. [exhales] Press it down. Add a little extra if it feels good.
So this is just a small sampling of great hip mobility moves that will make you feel looser, stronger, and more confident as you ride a motorcycle or go about your daily routine. So come back to this one often, and don’t forget to check out our other videos online at pbswisconsin.org/quickfit. And I’ll see you next time.
Search Episodes
Related Stories from PBS Wisconsin's Blog

Donate to sign up. Activate and sign in to Passport. It's that easy to help PBS Wisconsin serve your community through media that educates, inspires, and entertains.
Make your membership gift today
Only for new users: Activate Passport using your code or email address
Already a member?
Look up my account
Need some help? Go to FAQ or visit PBS Passport Help
Need help accessing PBS Wisconsin anywhere?

Online Access | Platform & Device Access | Cable or Satellite Access | Over-The-Air Access
Visit Access Guide
Need help accessing PBS Wisconsin anywhere?

Visit Our
Live TV Access Guide
Online AccessPlatform & Device Access
Cable or Satellite Access
Over-The-Air Access
Visit Access Guide
 Passport






Follow Us