Let’s Grow Stuff: Get Ready to Grow Amazing Tomatoes
Tomatoes are a favorite bounty of high summer, with flavors and colors ranging from the highly acidic and sultry to the sweet and gentle.
05/06/21
Tomatoes are a favorite bounty of high summer, with flavors and colors ranging from the highly acidic and sultry to the sweet and gentle.
05/06/21
Tomatoes are a favorite bounty of high summer, with flavors and colors ranging from the highly acidic and sultry to the sweet and gentle. I personally love to eat them directly out of the garden with a little salt and pepper… perfection! I don’t think I’m alone here, right? Growing tomatoes can be a rewarding pursuit, and how you start your growing season will impact your bounty later on. In this spirit, especially if you’re growing tomatoes for the first time, here are our top tips to get your tomato season started right.

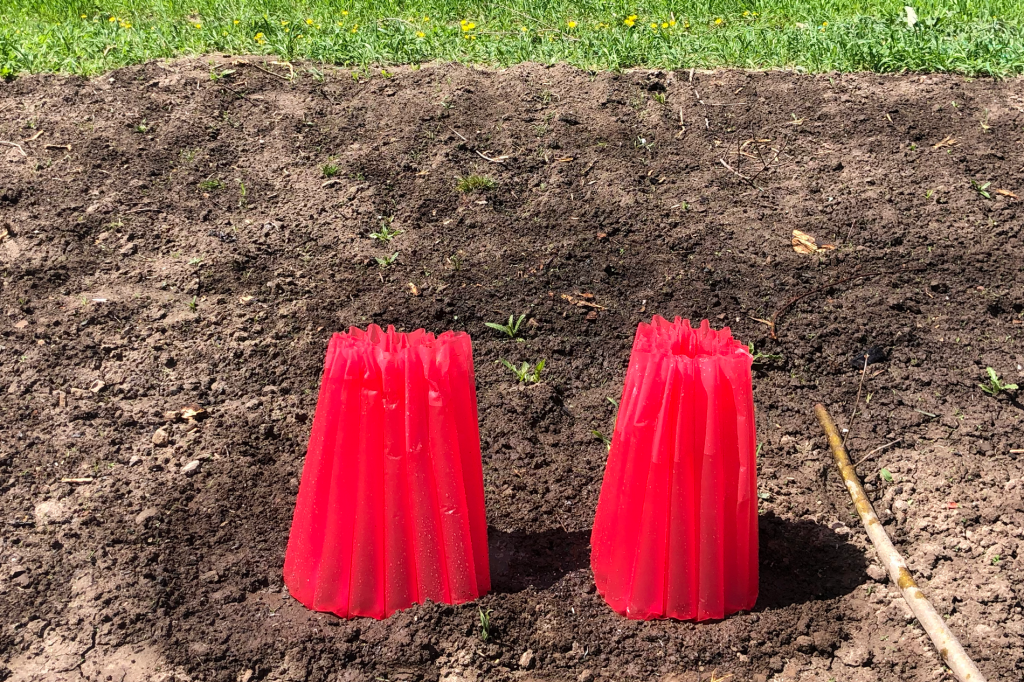
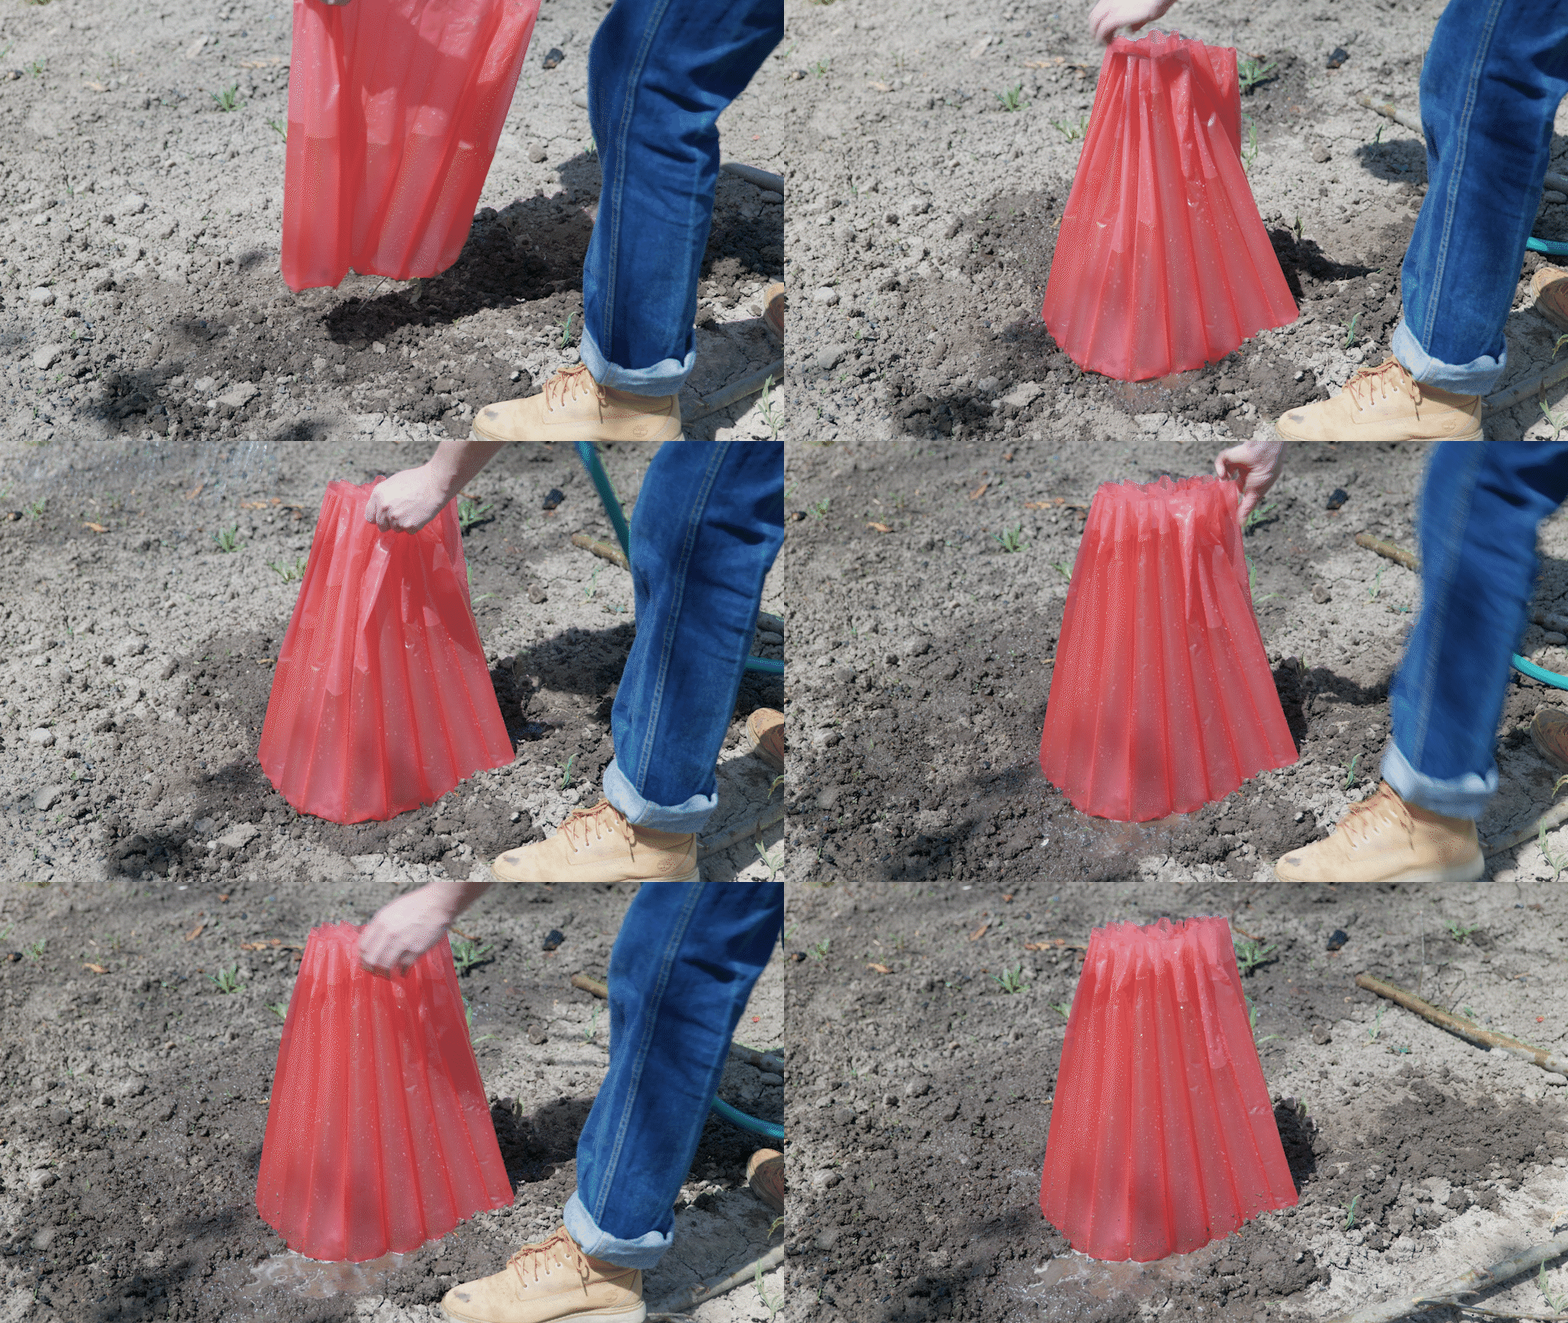
1. Jump-start and extend your season with walls-o-water or cloches. Tomatoes thrive in the heat of summer, and even once we’re past our frost-free date, we can still have a few chillier days. These cooler temps slow our tomatoes down, so providing a bit of extra insulation (you’re basically creating a micro-greenhouse) can help to moderate fluctuations in temperature and increase average daytime temperatures while also protecting your plants from freak, late-season frosts. These tools can also allow you to plant before your frost free date to give your tomatoes a jump start in the ground. The sooner you get them into garden soil, the better.


2. Don’t forget to harden off seedlings. If you’re growing your own plants from seed or buying from a greenhouse or garden center, your plants need to harden off before going outdoors. Hardening off helps our baby plants adapt to growing outdoors. If you don’t harden off plants, they can be stunted or delayed because the shock of moving from indoors to outside too suddenly can overwhelm them. To learn how to harden off plants, watch this quick clip:
3. Plant seedlings horizontally. This planting technique is unique for tomatoes, as most seedlings like to be planted at the same depth as their existing pot. Tomatoes are a departure in that all those fine little hairs along a plant’s stem will develop into roots when they’re in contact with the soil. These extra roots will provide additional nutrients and water as plants grow, while also helping anchor plants against high winds and critters which could uproot them.
a) First, remove all but the top 1-2 sets of leaves. Make sure to remove them all the way back to the main stem.
b) Next, dig a shallow trench 1” deep which corresponds to the length of the stem you’ll be burying. This will vary based on the variety you’re growing and the age of your plants. Don’t forget to include the existing root system which needs to be planted, too.
c) Finally, bury the entire stem. Your top leaves will be at a funky angle for a day or two, but they’ll perk up and start growing vertically in no time.
d) Don’t forget to water your transplants!

As your plants get established and begin to grow, how we manage our plants before they begin to fruit is important. Tomatoes grow in two different ways: determinate and indeterminate. Determinate plants will cease flowering and growing at some point, and indeterminate varieties will just keep going and going until the first hard freeze. These side shoots do take water and nutrients to grow, and if you allow them to grow you will likely harvest more individual fruits. However, your fruits may be a bit smaller or take longer to ripen because the plant is putting energy in so many places. Your seed packet will indicate what type you’re growing.
While it’s not a critical practice (and really comes down to your personal preferences and gardening style) you can prune these side shoots to encourage your plants to grow a single, straight, tall stem. You’ll have fewer fruits but they’ll be bigger and likely ripen sooner. Pruning also opens up the thick canopy of tomato foliage and helps you spot potential pests, allows light to reach deeper into plants (which also encourages ripening), and reduces the prevalence of diseases due to increased air circulation (always a good thing).
4. Prevent blight. Finally, tomato blight is a fungal disease that afflicts many of our gardens. It spreads quickly in wet weather and will cause foliage to discolor, rot, and fall off the plant. Not cute. When it comes to pests and disease in the garden, our best option is to try and prevent the conditions which lead to blight in the first place.
a) Select blight-resistant plants. While it may be a bit too late for this season if you’re starting from seed, you can always ask your garden center if you’re buying transplants and keep an eye out for resistant varieties when buying seed next year.
b) We’ve said it before and we’ll say it again: rotate your crops! Don’t grow tomatoes in the same place from one year to the next. The fungal spores of blight start in the soil, and if we grow something in the same place too many years in a row, it causes those spores to build up to critical levels. Practicing crop rotation helps keep them in check.
c) Mulch with straw around the base of plants. Often, the fungal spores of blight reach the underside of leaves during heavy rain. Raindrops hit the soil and spores splash up and onto leaves. Applying between 2-3” of straw mulch helps to mitigate this possibility. You can also prune away the lowest leaves as your plants grow.
d) Water from below. Don’t water your tomatoes with an overhead sprinkler. Use a soaker hose or watering can and apply water directly to the soil.
Well, there you have it! Tomatoes (in my opinion) are not for the faint of heart as they take a lot of regular work and maintenance to be successful. If you’re up for the challenge, the rewards are well worth it. Good luck, and happy gardening!
What do you think?
I would love to get your thoughts, suggestions, and questions in the comments below. Thanks for sharing!
Benjamin Futa